Welcome to the Miele Induction Cooktop Manual‚ your comprehensive guide to safe‚ efficient‚ and enjoyable cooking․ This manual provides essential information for optimal performance and maintenance․
1․1 Overview of the Manual
This manual is designed to guide users through the safe and effective use of their Miele induction cooktop․ It covers essential topics such as installation‚ operation‚ safety precautions‚ and maintenance․ The document also includes troubleshooting tips and information on compatible cookware․ By following the guidelines outlined‚ users can ensure optimal performance and longevity of their appliance․ The manual is structured to address both routine use and advanced features‚ making it a valuable resource for all users․
1․2 Importance of Reading the Manual
Reading the Miele induction cooktop manual is crucial for safe and effective operation․ It outlines essential safety guidelines‚ proper usage‚ and maintenance tips to prevent accidents and ensure longevity․ The manual also provides troubleshooting solutions and energy-saving advice‚ helping you maximize efficiency․ By understanding the appliance’s features and limitations‚ you can avoid potential hazards and enjoy a seamless cooking experience․ Always refer to the manual before installation or use․
Safety Precautions
Adhere to safety guidelines to avoid accidents․ Never cover the cooktop with objects‚ as they may ignite or melt․ Keep metal items away to prevent heating․ Ensure proper ventilation and check cookware compatibility before use․ Avoid accidental startups and always follow manual instructions for safe operation․
2․1 General Safety Guidelines
Always prioritize safety when using your Miele induction cooktop․ Never cover the cooktop with boards‚ cloths‚ or protective sheets‚ as they may ignite or melt․ Ensure the cooktop is not covered when hot or accidentally turned on․ Keep metal objects away‚ as they can heat up unintentionally․ Use only induction-compatible cookware in good condition to prevent heat transfer issues․ Maintain proper ventilation and keep children away from the cooktop during operation․
2․2 Handling and Maintenance Safety
Ensure all installation‚ maintenance‚ and repairs are performed by a Miele-authorized technician to avoid accidents and damage․ Never attempt to repair or replace parts yourself․ Regularly inspect the cooktop for damage and clean it with a damp cloth before first use․ Avoid using abrasive cleaners that may scratch the surface․ Proper maintenance ensures optimal performance and safety‚ adhering to Miele’s guidelines for handling and caring for your induction cooktop․

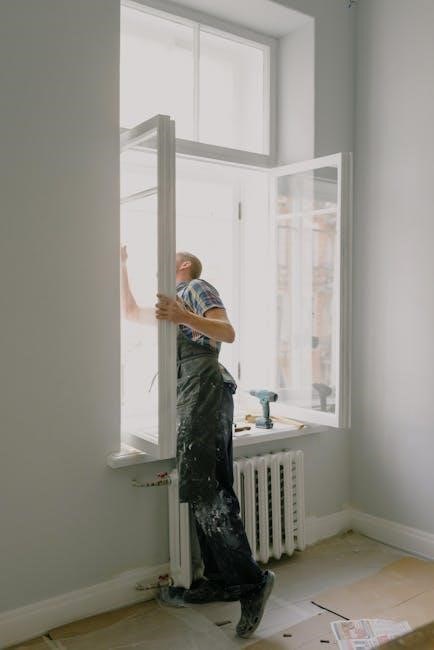
Installation and Setup
Ensure installation is performed by a Miele-authorized technician to guarantee safety and compliance with local regulations․ Power supply must only be connected after installation is complete․
3․1 Pre-Installation Requirements
Before installing your Miele induction cooktop‚ ensure the area is clear and meets specific electrical and spatial requirements․ Verify that the cooktop’s dimensions match your countertop cutout․ Check local regulations and ensure a dedicated 240V electrical circuit is available․ The cooktop must be installed on a heat-resistant surface‚ and all connections should comply with safety standards to prevent hazards․
3․2 Step-by-Step Installation Guide
Ensure the cooktop is installed by a Miele authorized technician to guarantee safety and warranty compliance․ Use the provided template to align the unit on your countertop‚ ensuring proper fitment․ Connect the electrical supply to a dedicated 240V circuit‚ following local regulations․ Secure the cooktop using mounting hardware provided․ After installation‚ test the cooktop with compatible cookware to confirm functionality․ Refer to the manual for model-specific instructions and safety precautions․
Operating the Cooktop
Use compatible cookware by testing with a magnet․ Ensure the cooktop is clean and dry․ Select power modes and adjust settings for simmering‚ boiling‚ or frying․ Always monitor cooking processes for safety and optimal results․
4․1 Basic Operations and Controls
Start by ensuring the cooktop is clean and dry․ Use induction-compatible cookware‚ verified with a magnet test․ Power modes include simmer‚ steam boil‚ and stir fry․ Adjust settings via touch controls for precise heat management․ The MieleMobile app enables smart connectivity for enhanced control․ Always monitor cooking processes to avoid overheating․ Regularly clean the cooktop to maintain performance and safety․ Refer to the manual for model-specific instructions and optimal results․
4․2 Special Features and Functions
The Miele induction cooktop offers advanced features like Wi-Fi connectivity‚ allowing control via the MieleMobile app․ Access over 1‚000 recipes and customize settings for seamless cooking․ Automatic pan detection ensures efficient energy use‚ while the booster function accelerates heating․ The cooktop also features eco modes‚ power management‚ and a keep-warm function for convenience․ These innovations enhance cooking efficiency‚ safety‚ and ease of use‚ making it a versatile and modern kitchen essential․
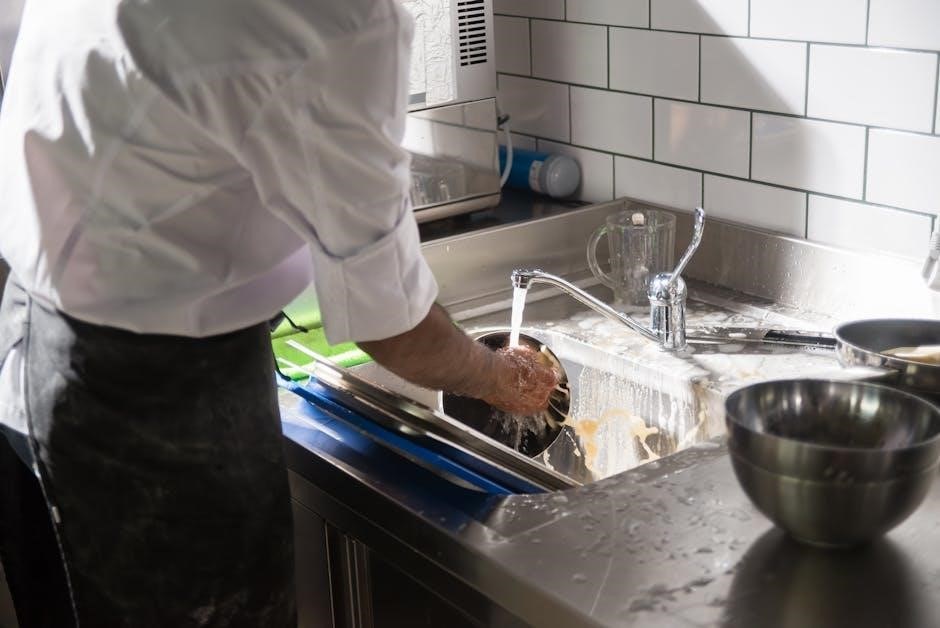
Cleaning and Maintenance
Regular cleaning with a damp cloth and mild detergent prevents damage․ Avoid harsh chemicals and abrasive materials․ Daily maintenance ensures longevity and optimal performance of your cooktop․
5․1 Daily Cleaning Tips
For daily maintenance‚ clean the cooktop after each use with a soft‚ damp cloth․ Avoid harsh chemicals or abrasive materials‚ as they may scratch the surface․ For stubborn stains‚ mix baking soda with water to create a paste‚ apply gently‚ and wipe clean․ Regularly cleaning prevents grime buildup and ensures optimal performance․ Always dry the cooktop thoroughly to avoid water spots and maintain its sleek appearance․
5․2 Deep Cleaning and Maintenance
For deep cleaning‚ use a gentle cleanser specifically designed for induction cooktops․ Avoid metal scourers‚ as they may scratch the surface․ Clean the air inlet and outlet regularly to ensure proper ventilation․ Check for blockages in the cooling system to maintain efficiency․ For tough stains‚ apply a cleaning solution and let it sit before wiping․ Schedule professional maintenance annually to inspect and clean internal components‚ ensuring optimal performance and longevity of your cooktop․

Troubleshooting Common Issues
Identify and resolve common problems like error codes‚ uneven heating‚ or cookware incompatibility․ Check electrical connections‚ ensure proper cookware‚ and refer to the manual for solutions․
6․1 Identifying and Solving Common Problems
Common issues with Miele induction cooktops include error codes‚ uneven heating‚ or cookware incompatibility․ Check electrical connections‚ ensure cookware is induction-compatible‚ and clean the cooktop surface regularly․ For error codes‚ refer to the manual for specific solutions․ If the cooktop doesn’t turn on‚ verify power supply and circuit breaker status․ Resetting the cooktop or consulting a professional may be necessary for unresolved issues․
6․2 When to Contact a Professional
If issues persist despite troubleshooting‚ contact a Miele-authorized technician․ This includes cases of persistent error codes‚ electrical malfunctions‚ or damage to the cooktop․ Never attempt repairs yourself‚ as this can void the warranty or cause safety hazards․ Professionals are equipped to handle complex problems‚ ensuring your cooktop operates safely and efficiently․ Always rely on authorized service for maintenance or repairs to maintain optimal performance and warranty validity․

Compatible Cookware
Use cookware with ferromagnetic bases; test with a magnet․ Cast iron and stainless steel work well․ Avoid glass or ceramic․ Ensure cookware is in good condition for optimal performance․
7․1 Identifying Suitable Cookware
For Miele induction cooktops‚ cookware must have ferromagnetic bases to ensure proper heat transfer․ Test compatibility by holding a magnet to the base; if it sticks‚ the cookware is suitable․
Cast iron‚ stainless steel‚ and carbon steel pans are ideal․ Avoid glass‚ ceramic‚ or aluminum cookware‚ as they don’t work with induction․ Ensure cookware is in good condition to optimize performance and safety․
7․2 Caring for Induction-Compatible Pans
To maintain your induction-compatible pans‚ avoid using abrasive cleaners or scourers‚ as they can scratch the surface․ Clean with soft sponges and gentle detergents to preserve the finish․ Store pans separately or use padding to prevent scratching․ Avoid overheating empty pans‚ as this can damage both the cookware and the cooktop․ Use silicone or wooden utensils to prevent scratching‚ and dry pans thoroughly after washing to prevent water spots․ Regular maintenance ensures optimal performance and longevity of your cookware․

Energy Efficiency
Miele induction cooktops are designed for optimal energy efficiency‚ utilizing advanced technology to minimize power consumption․ Features like automatic shut-off and eco modes help reduce energy usage effectively․
8․1 Understanding Energy-Saving Features
Miele induction cooktops are equipped with innovative energy-saving features designed to reduce power consumption while maintaining high performance․ Eco modes optimize energy use during cooking‚ automatically adjusting power levels to suit your needs․ Additionally‚ the cooktop’s advanced sensor technology ensures that energy is only used when cookware is detected‚ minimizing standby power consumption․ These features not only lower your energy bills but also align with Miele’s commitment to sustainability and eco-friendly cooking solutions․
8․2 Eco Modes and Power Management
Miele induction cooktops offer Eco modes that intelligently manage power consumption‚ reducing energy waste․ These modes adjust cooking power dynamically‚ ensuring efficient heating while lowering overall energy use․ Additionally‚ the cooktop’s power management system optimizes performance based on cookware and cooking tasks․ Users can also monitor energy consumption via the MieleMobile app‚ enhancing eco-friendly cooking practices and promoting sustainability without compromising on performance or convenience․
By following this manual‚ you can ensure safe‚ efficient‚ and enjoyable cooking with your Miele induction cooktop․ Regular maintenance and proper usage will extend its lifespan and performance․
9․1 Summary of Key Points
Your Miele induction cooktop manual provides essential guidance for safe and efficient cooking․ Key points include proper installation‚ daily cleaning‚ and using compatible cookware․ Regular maintenance ensures optimal performance and longevity․ Always follow safety precautions to avoid accidents․ Energy-saving features and special functions enhance your cooking experience․ Refer to the manual for troubleshooting common issues and understanding advanced settings․ Proper care will maximize your cooktop’s efficiency and durability for years to come․
9․2 Final Tips for Optimal Use
For the best experience with your Miele induction cooktop‚ always use compatible cookware and keep the surface clean․ Regularly inspect and maintain the cooktop to ensure efficiency․ Utilize energy-saving modes and special features for precise cooking․ Avoid overheating and never leave metal objects on the cooktop․ Refer to the manual for troubleshooting and maintenance tips to extend the lifespan of your appliance and ensure safe‚ efficient operation․