
The Kenmore Model 417 Washer Dryer Combo Repair Manual is a detailed guide for troubleshooting and fixing common issues. It provides step-by-step repair procedures‚ ensuring efficient and safe maintenance for optimal performance. Ideal for DIY enthusiasts and professionals alike.
This manual covers essential repair procedures‚ diagnostic tips‚ and safety precautions to help users maintain their appliance effectively. By following the instructions‚ you can resolve issues confidently and extend the lifespan of your Kenmore washer dryer combo.
1.1 Overview of the Kenmore Model 417 Washer Dryer Combo
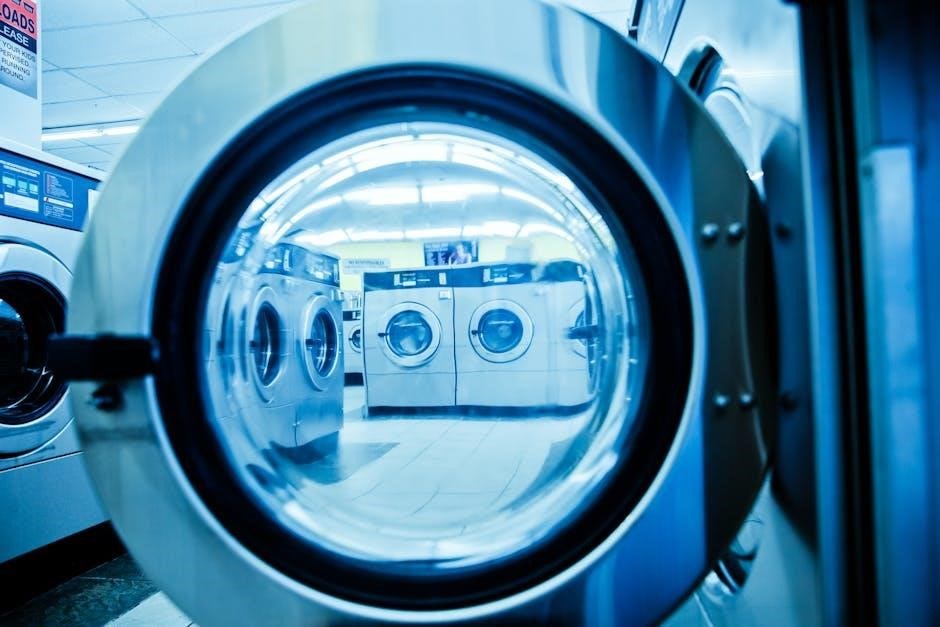
The Kenmore Model 417 Washer Dryer Combo is a space-saving‚ efficient appliance designed for household laundry needs. It combines a washer and dryer in a single unit‚ offering convenience and reliability. Available in various configurations‚ it caters to different household sizes and preferences. Known for its durability‚ the Model 417 is a popular choice for users seeking a compact‚ user-friendly laundry solution.
Featuring advanced controls and multiple cycle options‚ this combo ensures optimal washing and drying performance. Its design allows for easy installation and maintenance‚ making it a practical addition to any home. Whether for small loads or heavy-duty use‚ the Kenmore Model 417 is a versatile appliance tailored to meet everyday laundry demands effectively.
1.2 Importance of Using the Correct Repair Manual
Using the correct repair manual for the Kenmore Model 417 is crucial for accurate diagnostics and safe repairs. Each model has unique configurations‚ and a mismatched manual can lead to misdiagnosis or improper fixes‚ potentially causing further damage. The correct manual ensures compatibility with specific parts and instructions tailored to your appliance‚ guaranteeing effective and secure repairs.
Referencing the right manual prevents safety hazards and ensures compliance with manufacturer guidelines. It provides precise troubleshooting steps‚ diagrams‚ and part lists‚ saving time and reducing errors. For reliable and efficient repairs‚ always use the manual designed for your exact Kenmore Model 417 Washer Dryer Combo configuration.
Common Problems with the Kenmore Model 417 Washer Dryer Combo
The Kenmore Model 417 often experiences issues like the washer not starting‚ dryer not heating‚ or excessive noise during operation. These problems can stem from faulty components or improper maintenance‚ requiring timely repairs to restore functionality and prevent further damage.
Addressing these common issues promptly ensures optimal performance and extends the appliance’s lifespan‚ avoiding costly replacements and enhancing user convenience.
2.1 Issues with the Washer Not Starting
The washer may fail to start due to power supply issues‚ a faulty door switch‚ or a malfunctioning control board. Checking the power cord and circuit breaker is essential. Ensure the door is closed properly‚ as an open door can prevent the washer from starting. If the issue persists‚ inspecting the control board or replacing the door switch may be necessary. Consulting the service manual for specific diagnostic steps is recommended to resolve the problem effectively.
2.2 Problems with the Dryer Not Heating
If the dryer fails to heat‚ common culprits include a faulty high limit thermostat‚ thermal cutoff‚ or heating element. Ensure the power supply is stable and the dryer is set to a heat cycle. Check for blockages in the venting system‚ as poor airflow can prevent proper heating. Replacing the high limit thermostat or heating element may resolve the issue. Always refer to the service manual for specific repair guidance and safety precautions.
2.3 Excessive Noise During Operation
Excessive noise during operation can be caused by worn or loose parts‚ such as drum bearings or belt misalignment. Check for foreign objects in the drum and ensure the appliance is level. Lubricating moving parts or replacing worn components may resolve the issue. Consult the repair manual for diagnostic steps and detailed instructions to address the noise effectively and safely.

Diagnostic Steps for Troubleshooting
Start with power checks and error code analysis. Consult the service manual for specific diagnostic procedures. Inspect internal components and test electrical connections to identify faults accurately.
3.1 Preliminary Checks Before Repair
Before starting any repair‚ ensure the unit is unplugged and safe to work on. Check the power supply and circuit breaker. Verify error codes and consult the manual for interpretations. Inspect water supply hoses for blockages or leaks. Ensure all basic functions are tested to identify the issue accurately. These initial checks help prevent further damage and ensure a safe repair process.
3.2 Using the Service Manual for Diagnosis
The service manual provides detailed troubleshooting guides and error code interpretations. Refer to the manual to identify symptoms‚ locate faulty components‚ and access repair procedures. Use the parts diagrams to verify compatibility and ensure accurate diagnoses. The manual also offers step-by-step instructions for testing and replacing parts safely and effectively. Always match the manual to your specific model for precise repair guidance.
- Check error codes and their meanings.
- Review parts diagrams for component locations.
- Follow diagnostic procedures carefully.

Safety Precautions for Repair
Always disconnect power before starting repairs. Wear protective gear like gloves and safety glasses. Ensure the workspace is well-ventilated and clear of clutter. Follow all safety guidelines to avoid injuries and appliance damage.
4.1 Preparing a Safe Workspace
Clear the workspace of clutter and ensure good ventilation. Lay down protective covers to prevent damage from tools or parts. Keep a fire extinguisher nearby and ensure proper lighting. Organize tools and parts neatly to avoid accidents. Wear non-static clothing and remove jewelry to prevent electrical issues. Always have a first aid kit accessible.
4.2 Personal Protective Gear and Safety Practices
Always wear safety glasses‚ gloves‚ and a dust mask when working with electrical or mechanical components. Steel-toe shoes are recommended to protect against heavy tools or falling parts. Ensure the appliance is unplugged before starting repairs to prevent electrical shocks. Use insulated tools to handle live circuits safely. Keep loose clothing tied back and avoid jewelry that could get caught in moving parts. Maintain proper ventilation when handling chemicals or adhesives.
Repair Parts and Tools Needed
This section lists essential repair parts and tools needed for fixing the Kenmore Model 417 Washer Dryer Combo‚ ensuring you have everything required for successful repairs.
5.1 Common Replacement Parts for the Kenmore Model 417
The Kenmore Model 417 commonly requires replacement parts like the high limit thermostat‚ heating elements‚ and motor components due to wear and tear. Belts and gaskets may also need replacing if they show signs of damage or leakage. These parts are crucial for ensuring proper functionality and preventing further damage to the washer dryer combo. Always use genuine or compatible replacement parts to maintain performance and safety.
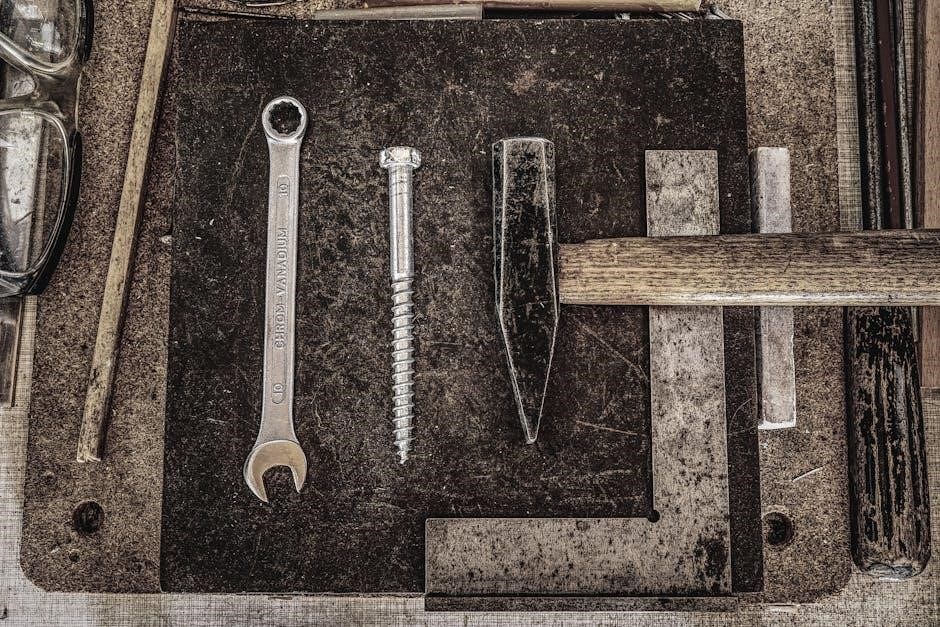
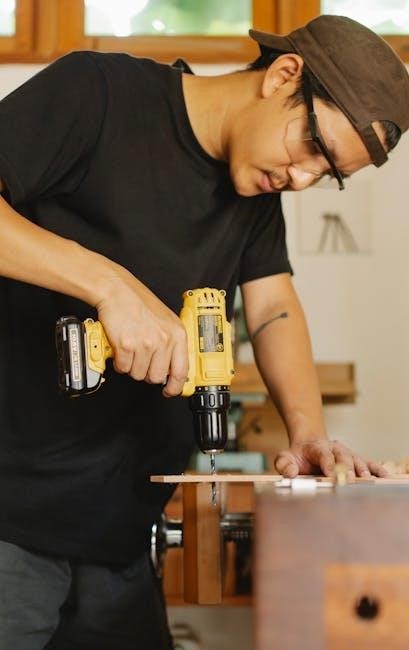
5.2 Essential Tools for DIY Repairs
For DIY repairs on the Kenmore Model 417 washer dryer combo‚ essential tools include screwdrivers (Phillips and flathead)‚ adjustable wrenches‚ pliers‚ and a voltage tester for electrical safety. Additional tools like a soldering iron‚ belt removal tool‚ and clamps may be needed for specific repairs. Always use appropriate safety gear‚ such as gloves and goggles‚ to protect yourself during the process. Having these tools ready ensures efficient and safe repairs.

Step-by-Step Repair Guides
This section provides clear‚ detailed instructions for common repairs‚ such as replacing the motor or fixing the heating element. Follow these guides for efficient fixes.
6.1 Replacing the High Limit Thermostat
Replacing the high limit thermostat is essential if it fails to regulate heat properly. Ensure the dryer is unplugged before starting. Remove the back panel to access the thermostat‚ typically located near the heating element. Disconnect the wiring harness and remove the faulty thermostat. Install the new one securely‚ reconnect the wires‚ and replace the panel. Test the dryer to ensure proper heating.
This repair resolves common issues like inconsistent heating or the dryer not turning off. Always use genuine Kenmore parts for reliability and safety. If unsure‚ consult the manual or a professional for assistance.
6.2 Fixing the Washing Machine Motor
To fix the washing machine motor‚ first disconnect power and access the motor by removing the washer’s back panel. Inspect for blockages or wear. Ensure all connections are secure and clean. If damaged‚ replace the motor with a compatible Kenmore part. Reassemble carefully and test the washer to confirm proper operation.
Always follow safety guidelines and use genuine replacement parts for reliable performance. If unsure‚ consult the repair manual or seek professional assistance to avoid further damage.
Downloading and Using the Kenmore Model 417 Repair Manual
Access the Kenmore Model 417 repair manual through Sears Parts Direct or official Kenmore resources. It provides detailed repair information‚ diagrams‚ and safety guidelines for efficient troubleshooting and maintenance.
Download the manual to diagnose and fix issues confidently‚ ensuring your washer dryer combo operates optimally with genuine parts and expert instructions.
7.1 Finding the Correct Service Manual Online
Locate the Kenmore Model 417 service manual by visiting Sears Parts Direct or Kenmore’s official website. Enter your specific model number‚ such as 417.94812301‚ to find the exact manual. Ensure the source is reliable to avoid incorrect information. The manual will include detailed diagrams‚ repair guides‚ and troubleshooting tips specific to your appliance‚ ensuring accurate and safe repairs.
Always verify the model number before downloading to guarantee compatibility and effectiveness in addressing your washer dryer combo’s issues.
7.2 Navigating the Manual for Repair Information
Navigate the Kenmore Model 417 repair manual by starting with the table of contents or index to locate specific repair sections. Use the diagnostic charts to identify symptoms and match them to potential issues. Refer to the parts list for component locations and order numbers. Follow step-by-step repair procedures‚ ensuring compliance with safety guidelines and manufacturer recommendations for accurate fixes.
Leverage detailed diagrams and troubleshooting guides to pinpoint problems efficiently. The manual’s clear instructions and visual aids ensure a smooth repair process‚ minimizing downtime for your washer dryer combo.

Troubleshooting Specific Components
Troubleshoot specific components like the control board and heating element by checking error codes and performing diagnostic tests. Identify faulty parts using the manual’s guidance for precise repairs.
8.1 Identifying Issues with the Control Board
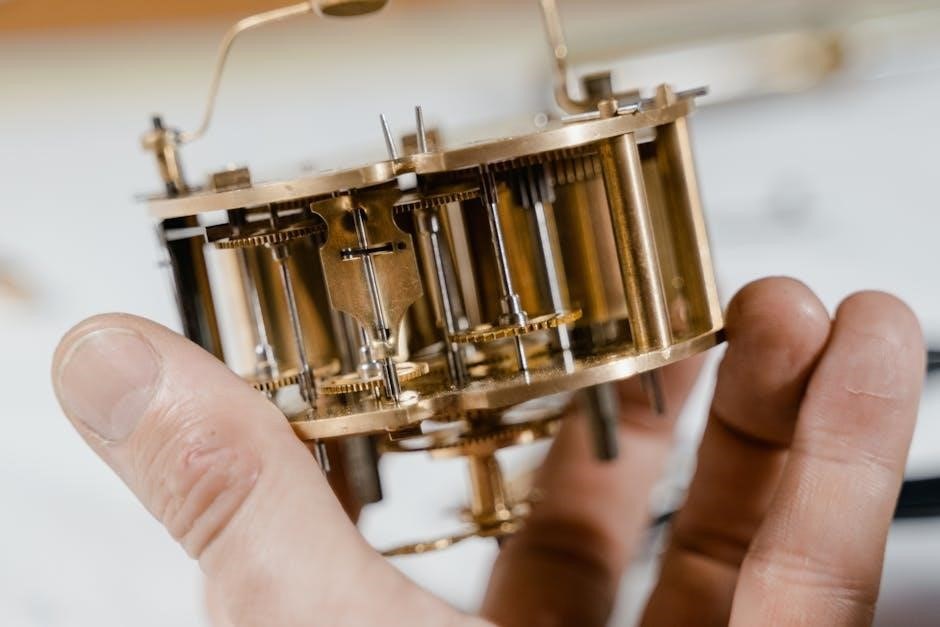
Identify control board issues by checking for error codes‚ unresponsive buttons‚ or a blank display. Verify power supply to the board and inspect for blown fuses or tripped circuits. Use a multimeter to test voltage and continuity in related circuits. If diagnostics confirm a faulty control board‚ replace it with a compatible part to restore functionality to your Kenmore washer dryer combo.
8.2 Diagnosing Problems with the Heating Element
Diagnose heating element issues by checking for no heat during cycles or error codes related to temperature control. Inspect the heating element for visible damage or corrosion. Test the high limit thermostat and thermal cutoff for continuity using a multimeter. Ensure proper voltage supply to the heating element and check for blown fuses or tripped breakers; Replace faulty components to restore heating functionality in your Kenmore washer dryer combo.
Preventive Maintenance Tips
Regularly clean the lint filter‚ check hoses for cracks‚ and ensure proper ventilation. Clean the gasket and balance loads to maintain efficiency and longevity of your Kenmore washer dryer combo.
9.1 Regular Maintenance to Avoid Repairs
Regular maintenance is crucial to prevent issues in your Kenmore Model 417 washer dryer combo. Clean the lint filter after each use‚ check and replace worn-out hoses‚ and ensure proper ventilation. Run a cleaning cycle monthly to remove detergent residue and debris. Inspect belts and seals for wear and tear‚ and replace them promptly. These steps help prevent breakdowns and maintain optimal performance.
9.2 Deep Cleaning the Washer and Dryer Combo
Deep cleaning your Kenmore Model 417 washer dryer combo is essential for maintaining performance. Run a cleaning cycle with a washer cleaner to remove detergent residue and odors. Check and clean the gasket‚ detergent dispenser‚ and dryer vent regularly. Scrub away mold and mildew buildup in the washer tub and dryer drum. Ensure proper airflow by cleaning the lint filter and venting system to prevent issues like poor drying efficiency.

Common Error Codes and Their Meanings
The Kenmore Model 417 repair manual decodes error codes like E1‚ E2‚ and E3‚ explaining their causes‚ such as faulty fill valves or temperature sensors‚ guiding swift fixes.
10;1 Decoding Error Codes for Quick Diagnosis
Decoding error codes on the Kenmore Model 417 is crucial for quick diagnosis. Common codes like E1‚ E2‚ and E3 indicate issues such as faulty fill valves or temperature sensors. Understanding these codes helps identify the root cause of the problem‚ enabling effective troubleshooting and repair. Refer to the manual for a detailed list of codes and their corresponding solutions to resolve issues efficiently and safely.
Community and Online Resources for Repair Help
Online forums‚ video tutorials‚ and repair clinics offer valuable support for fixing the Kenmore Model 417. Communities share DIY tips‚ while expert resources provide detailed repair guidance and solutions.
11.1 Forums and DIY Repair Communities
Forums and DIY repair communities are invaluable resources for troubleshooting and fixing the Kenmore Model 417. Websites like RepairClinic‚ ApplianceBlog‚ and Reddit’s appliance repair communities offer detailed discussions‚ troubleshooting tips‚ and personal experiences from users and experts. These platforms allow you to interact with experienced DIYers‚ access repair guides‚ and find solutions to common issues‚ empowering you to tackle repairs with confidence.
11.2 Video Tutorials and Repair Clinics
Video tutorials and repair clinics provide visual guidance for fixing the Kenmore Model 417 Washer Dryer Combo. Platforms like YouTube and RepairClinic offer step-by-step repair videos‚ covering common issues such as replacing the high limit thermostat or fixing the washing machine motor. These resources are ideal for visual learners‚ offering practical demonstrations that enhance understanding and ensure repairs are done safely and accurately.
The Kenmore Model 417 Washer Dryer Combo Repair Manual provides comprehensive guidance for successful repairs. By following safety guidelines and proper techniques‚ users can ensure longevity and optimal performance of their appliance.
12.1 Final Tips for Successful Repair
Always refer to the Kenmore Model 417 manual for specific instructions. Test the appliance after repairs to ensure issues are resolved. Keep replacement parts handy and follow safety guidelines. Regular maintenance can prevent future breakdowns. If unsure‚ consult online forums or repair communities for additional guidance. Patience and attention to detail are key to successful DIY repairs.
12.2 Encouragement to Follow Safety Guidelines
Always prioritize safety when repairing your Kenmore Model 417 washer dryer combo. Disconnect power before starting any repair to avoid electrical shocks or injuries. Wear protective gear like gloves and safety glasses. Follow the manual’s instructions carefully and ensure all repairs are properly verified. Taking these precautions will prevent accidents and ensure your appliance operates safely and efficiently. Remember‚ safety is paramount for both you and your appliance.