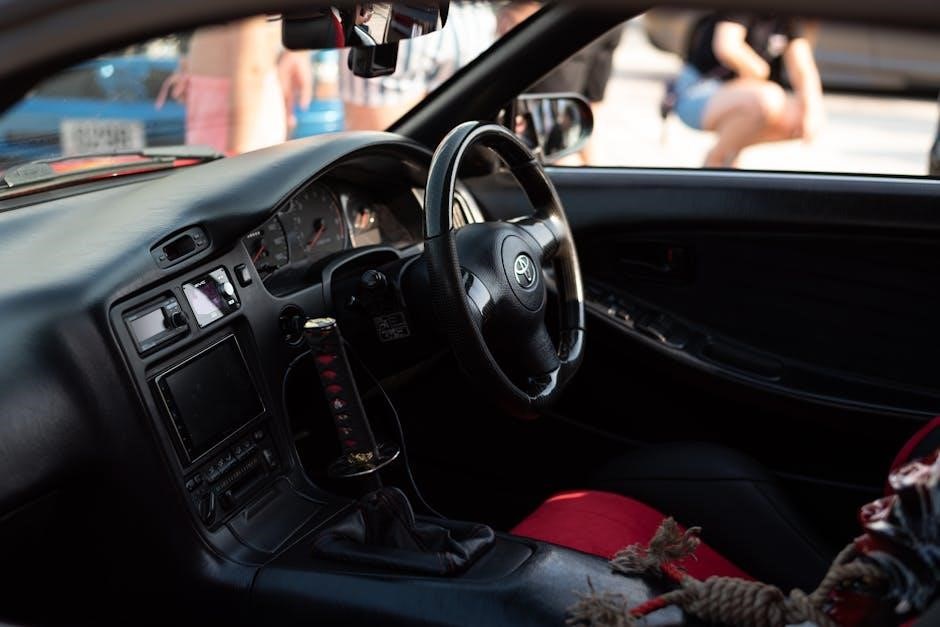
The Infiniti Q50 is a compact executive car produced from 2013 to 2019‚ offering a 6-speed manual transmission option in select regional markets‚ primarily with the 2.2-liter diesel engine in Europe. This feature provides drivers with enhanced control and engagement‚ catering to enthusiasts who prefer a more hands-on driving experience.

Is There a Manual Transmission Available for the Infiniti Q50?
The Infiniti Q50 offered a 6-speed manual transmission option‚ primarily in European markets with the 2.2-liter diesel engine‚ but it was discontinued after the 2015 model year.
2.1. Historical Overview of Manual Transmission in Q50 Models
The Infiniti Q50 manual transmission was briefly available from 2013 to 2015‚ primarily in European markets with the 2.2-liter diesel engine‚ offering 170 horsepower. This option provided a sporty driving experience but was later discontinued due to low demand and the market shift toward automatic transmissions. The manual transmission was not widely offered in other regions‚ making it a rare feature in the Q50 lineup.
2.2. Regional Variations in Manual Transmission Availability
Manual transmissions in the Infiniti Q50 were predominantly offered in European markets‚ particularly paired with the 2.2-liter diesel engine‚ providing 170 horsepower. These models catered to regional preferences for manual driving experiences. In contrast‚ North American and other markets primarily received automatic transmissions‚ reflecting local driving habits and demand. This regional variation highlights the Q50’s adaptation to different consumer preferences and market dynamics.
The History of Manual Transmission in the Infiniti Q50
The Infiniti Q50‚ produced from 2013 to 2019‚ initially offered a 6-speed manual transmission in select models‚ primarily the 2.2-liter diesel variant‚ catering to European markets.
3.1. Early Models and the Absence of Manual Transmission
The initial launch of the Infiniti Q50 in 2013 focused on automatic transmissions‚ with no manual option available. This decision aligned with market trends favoring convenience and ease of use‚ particularly in the U.S. The absence of a manual transmission in early models reflected a broader industry shift towards automatics‚ catering to a more comfort-oriented consumer base.
3.2. Special Editions and Limited Releases
Despite enthusiast anticipation‚ the Infiniti Q50’s special editions and limited releases did not feature a manual transmission option. The 2016 model introduced new engines but retained the 7-speed automatic with manual shift mode. Regional exceptions‚ such as the 2.2-liter diesel in Europe‚ offered a 6-speed manual‚ but this was not extended to global markets‚ limiting its availability to specific regions and models.
Buyer’s Guide: Choosing a Q50 with Manual Transmission
Buyers seeking a Q50 with a manual transmission should focus on 2014–2019 models‚ specifically the 2.2-liter diesel variants‚ primarily available in European markets with a 6-speed manual option.
4.1. Identifying Model Years with Manual Transmission Options
The Infiniti Q50 offered a 6-speed manual transmission primarily in its 2014–2019 model years‚ particularly in European markets with the 2.2-liter diesel engine. These models catered to drivers seeking a more engaging driving experience; Buyers should verify the specific trim and regional specifications to ensure the manual option is available. After 2019‚ the Q50 was discontinued‚ marking the end of manual transmission availability in the lineup.
4.2. Key Features to Look for in a Manual Q50
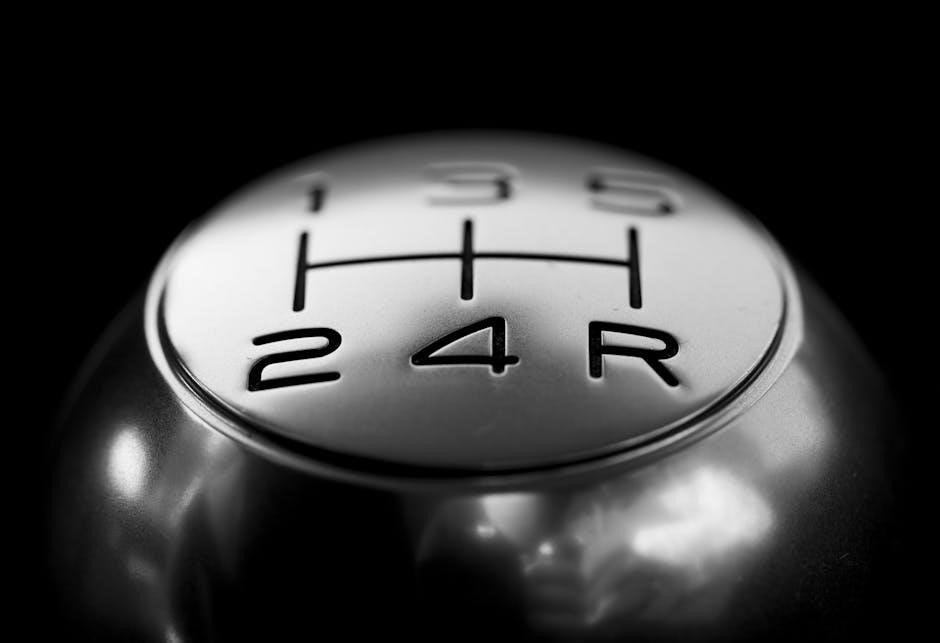
When searching for a manual Q50‚ focus on models equipped with the 2.2-liter diesel engine‚ paired with a smooth-shifting 6-speed manual transmission. Look for features like precise clutch engagement‚ responsive gear shifts‚ and the innovative RevMatch technology‚ which enhances driver experience. These features are primarily available in European models‚ offering a blend of performance and efficiency with 170 hp and 320 Nm of torque.
Technical Specifications of the Q50 Manual Transmission
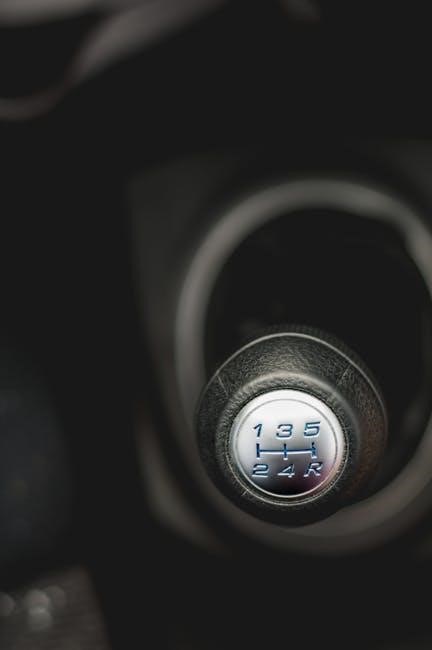
The Q50 manual transmission is a 6-speed unit‚ paired with a 2.2-liter diesel engine‚ delivering 170 hp and 320 Nm of torque‚ available in rear-wheel drive.
5.1. Engine and Transmission Pairings
The Q50 manual transmission is exclusively paired with the 2.2-liter diesel engine‚ delivering 170 horsepower and 320 Nm of torque. This combination is available in rear-wheel drive configurations‚ primarily in European markets‚ offering drivers a blend of fuel efficiency and responsive control. The 6-speed manual transmission complements the diesel engine’s torque characteristics‚ providing a smooth and engaging driving experience tailored for enthusiasts who prefer a hands-on approach behind the wheel.
5.2. Performance and Drivetrain Features
The Q50’s 2.2-liter diesel engine‚ paired with a 6-speed manual transmission‚ delivers 170 horsepower and 320 Nm of torque. This setup offers smooth acceleration and efficient performance‚ ideal for European markets. Rear-wheel drive enhances handling‚ while the manual gearbox provides precise control‚ catering to driving enthusiasts seeking a balanced blend of power and fuel efficiency in a luxury sedan.

The Driving Experience: Manual vs. Automatic in the Q50
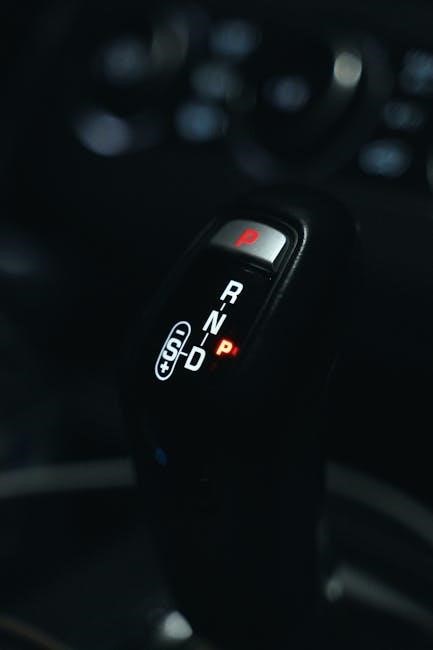
The Q50 primarily features a smooth 7-speed automatic transmission with manual shift mode‚ offering effortless acceleration. However‚ the available 6-speed manual in select models provides a more engaging and driver-focused experience.
6.1. Handling and Performance Comparison
The Q50’s manual transmission delivers a more engaging driving experience‚ offering precise control and sharper handling‚ especially in European models with the 2.2-liter diesel engine. In contrast‚ the 7-speed automatic prioritizes smooth acceleration and ease of use‚ catering to a broader audience. While the manual enhances driver connection‚ the automatic excels in convenience and performance consistency‚ making it the preferred choice for most Q50 buyers.
6.2. Driver Engagement and Satisfaction
The Q50’s manual transmission fosters a deeper connection between driver and vehicle‚ offering a more tactile and engaging experience compared to its automatic counterpart. Enthusiasts appreciate the control and precision it provides‚ enhancing satisfaction for those who value hands-on driving. However‚ the automatic’s convenience often appeals to a broader audience‚ making the manual a niche option for purists seeking a more immersive experience behind the wheel.
Current Availability of Manual Transmission in the Q50
The Infiniti Q50 manual transmission was available in select model years‚ primarily in Europe‚ but was discontinued after 2018. Current models no longer offer this option.
7.1. Discontinuation of Manual Models
Infiniti discontinued the manual transmission option for the Q50 after the 2018 model year. This decision aligned with industry trends favoring automatic transmissions for convenience and efficiency. The shift reflects declining demand for manual transmissions in luxury segments‚ as automakers prioritize technological advancements and streamlined production processes.
7.2. Market Shift Towards Automatic Transmissions
The automotive industry has increasingly favored automatic transmissions due to their convenience‚ efficiency‚ and technological advancements. Luxury vehicles‚ including the Q50‚ have embraced this trend‚ prioritizing smooth and seamless driving experiences. As a result‚ manual transmissions have become less popular‚ leading manufacturers like Infiniti to discontinue manual options in favor of advanced automatic systems that align with modern consumer preferences and expectations.

Aftermarket Manual Transmission Options for the Q50
Enthusiasts can install manual transmissions from the G37 or 370Z‚ offering a DIY solution for drivers seeking a more engaging experience‚ though requiring custom modifications.
8.1. Custom Installations and Modifications
Custom installations for a manual transmission in the Q50 often involve retrofitting components from the G37 or 370Z‚ such as the 6-speed manual gearbox. This requires custom brackets‚ suspension modifications‚ and potentially adding features like Rev-match technology for smoother shifting. While challenging‚ these modifications allow enthusiasts to create a unique driving experience tailored to their preferences.
However‚ such projects demand significant mechanical expertise and resources. The process may also involve addressing specific issues‚ such as the Achilles clutch slave cylinder flaw‚ to ensure reliability and performance. Despite the complexity‚ these custom setups offer a satisfying blend of control and power for dedicated drivers.
8.2. Popular Aftermarket Kits and Components
Popular aftermarket manual transmission kits for the Q50 often include components like the G37S 6-speed manual gearbox and clutch systems. These kits are frequently sourced from the 370Z‚ offering a direct bolt-on solution for enthusiasts. Additionally‚ aftermarket shift kits and lightweight flywheels are sought after to enhance shifting precision and reduce inertia. These modifications allow owners to achieve a more engaging and responsive driving experience.
Comparing the Q50 Manual Transmission to Competitors
The Q50’s manual transmission offers a unique blend of driver engagement and smooth shifting‚ distinguishing it from competitors like BMW and Audi‚ which may prioritize automation.
9.1. Industry Standards and Rival Offerings
The Infiniti Q50’s manual transmission‚ available in select regional markets‚ aligns with industry standards for driver engagement but faces stiff competition from rivals like BMW and Audi‚ which offer more extensive manual options across their lineups. While the Q50’s 6-speed manual provides smooth shifting‚ its limited availability compared to competitors highlights the broader industry shift toward automatic transmissions‚ a trend Infiniti has increasingly adopted.

9.2. Unique Selling Points of the Q50 Manual
The Q50’s manual transmission stands out for its precise‚ smooth shifting and driver engagement‚ making it a rare offering in its class. Paired with the 2.2-liter diesel engine‚ it provides a unique blend of efficiency and control‚ appealing to enthusiasts. This feature underscores Infiniti’s commitment to driving purists‚ offering a distinct option in a market dominated by automatics‚ and enhancing the Q50’s reputation as a performance-oriented luxury sedan.

Troubleshooting and Maintenance of the Q50 Manual Transmission
Regular clutch inspections and fluid checks are essential. Addressing worn components promptly ensures smooth operation. Proper maintenance extends the transmission’s lifespan and prevents costly repairs.
10.1. Common Issues and Solutions
Common issues with the Q50 manual transmission include clutch wear and fluid leaks. Replacing the clutch slave cylinder and ensuring proper fluid levels are key solutions. Regular inspections can prevent these problems‚ maintaining optimal performance. Addressing these issues promptly helps avoid more severe damage and ensures a smooth driving experience over time.
10.2. Best Practices for Longevity and Performance
Regular fluid checks and timely replacements are crucial for maintaining the Q50 manual transmission. Avoid aggressive driving and ensure smooth clutch engagement to prevent wear. Periodic inspections of the clutch and gear components can identify potential issues early. Proper shifting techniques and avoiding excessive heat buildup also contribute to extending the transmission’s lifespan and optimizing its performance over time.
The Future of Manual Transmission in the Q50
The Infiniti Q50 manual transmission is no longer available in current models‚ reflecting a broader industry shift toward automatic transmissions for enhanced convenience and technological integration.
11.1. Industry Trends and Consumer Preferences
The automotive industry is increasingly favoring automatic and CVT transmissions due to their convenience and fuel efficiency‚ leading to a decline in manual transmission demand. Consumers‚ especially in the U.S.‚ prefer the ease of automatics‚ influencing manufacturers like Infiniti to discontinue manual options. While driving enthusiasts value manuals for their engagement‚ the broader market shift toward automation aligns with the growing preference for hassle-free driving experiences.
11.2. Infiniti’s Strategic Direction
Infiniti has shifted its focus toward advanced automatic transmissions and hybrid systems‚ discontinuing manual options in the Q50. This aligns with market trends and consumer preferences for convenience and technology. By 2019‚ the Q50 manual transmission was phased out‚ reflecting a broader strategic move toward performance-oriented automatics and electrification‚ ensuring Infiniti remains competitive in a rapidly evolving automotive landscape;