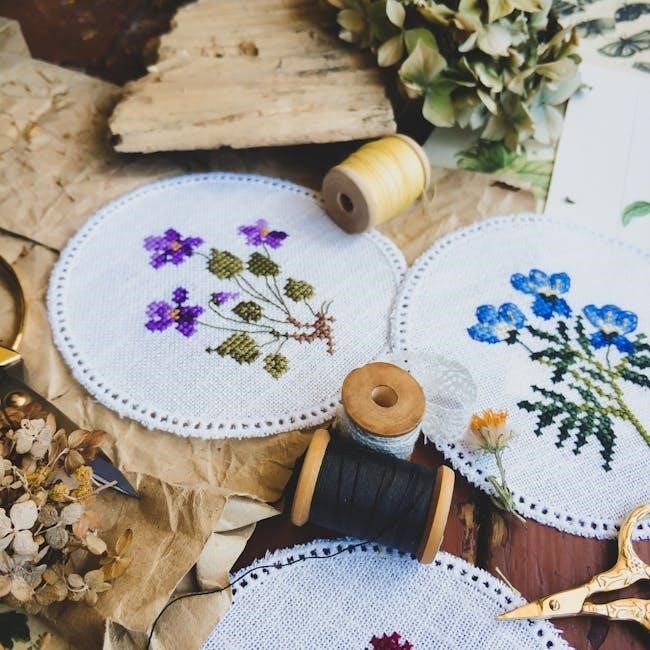
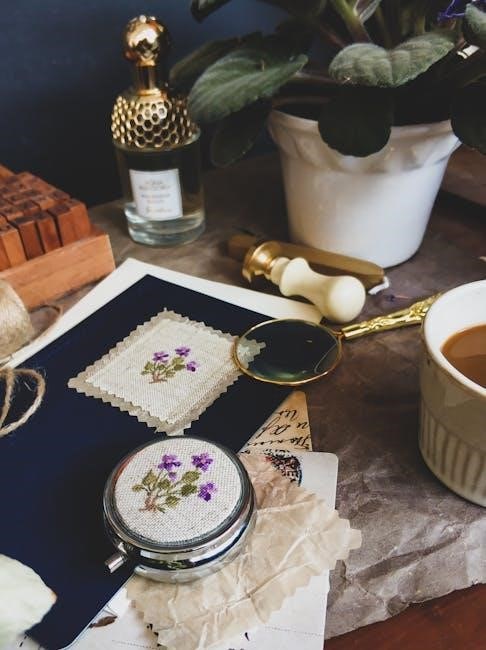
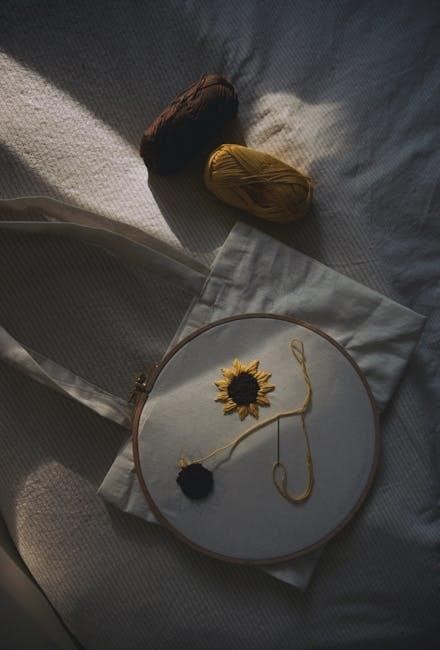
Cross stitch is a timeless craft creating beautiful designs with embroidery floss on fabric․ It involves making X-shaped stitches, separated into strands for consistency․ This meditative hobby is perfect for beginners, offering therapeutic relaxation while producing stunning artwork․
Essential Supplies for Getting Started
To begin cross stitching, gather a few basic supplies․ Start with fabric, such as Aida, Evenweave, or linen, available in various counts․ Choose embroidery floss, typically sold in skeins, and separate it into strands as needed․ A tapestry needle with a blunt tip is ideal for stitching․ A hoop or frame helps keep fabric taut, ensuring even stitches․ Scissors, a small bowl for floss, and a pattern or chart are also necessary․ Optional items include a needle threader and magnifying glass for detail work․ These tools provide everything needed to start creating beautiful cross stitch designs․
Understanding the Basics of Cross Stitch
Cross stitch is a technique where X-shaped stitches are sewn onto fabric to create designs․ Each stitch consists of two diagonal lines crossing at the center, forming a symmetrical “X․” Patterns are typically represented on charts, with symbols indicating thread colors․ Fabric is divided into a grid, allowing precise placement of stitches․ Projects often begin at the center of the design to ensure symmetry․ The type of fabric, such as Aida or Evenweave, and the number of threads used can affect the appearance․ Properly prepared fabric and consistent stitching ensure a professional finish․ This methodical approach makes cross stitch accessible and enjoyable for crafters of all skill levels․

Preparing Your Fabric
Preparing your fabric involves finding its center and securing it in a hoop or frame․ Finishing the edges prevents fraying and ensures a neat, professional finish․
How to Find the Center of Your Fabric
Finding the center of your fabric is crucial for ensuring your cross stitch pattern is evenly spaced and visually balanced․ To locate the center, fold the fabric in half both vertically and horizontally, creating a crease that marks the midpoint․ For larger fabrics, you can measure the dimensions and calculate the exact center point․ Pinching the fabric at the intersection of the creases will give you a clear starting point․ This step ensures your design will be symmetrical and evenly distributed across the fabric․ Accurate centering is essential for achieving a professional-looking finished piece, especially for patterns that require precise alignment․
Importance of Finishing the Edges
Finishing the edges of your fabric is essential to prevent fraying and ensure a clean, professional finish․ Fraying fabric can make stitching difficult and may cause the edges to unravel, ruining your project․ By securing the edges, you protect the fabric and maintain its integrity throughout the stitching process․ This step is especially important for fabrics like linen or evenweave, which tend to fray more easily․ You can finish the edges by folding them over and sewing or using a zigzag stitch on a sewing machine․ This simple step ensures your fabric remains stable, making it easier to handle while stitching and providing a polished look to your finished piece․
The Cross Stitch Technique
The cross stitch technique is a fundamental embroidery method where X-shaped stitches are formed on fabric using embroidery floss․ It is easy to learn but requires consistency for professional results․
Step-by-Step Guide to Making a Cross Stitch
To create a cross stitch, start by bringing the needle up through the fabric at point A․ Insert the needle diagonally across to point B, forming the first half of the X․ Loop back and bring the needle up at point C, directly below B, then insert it diagonally to point D, completing the X․ Use two strands of embroidery floss for most projects․ Keep your stitches small and consistent for a professional finish․ Maintain even tension to avoid puckering the fabric․ Always count your stitches carefully to ensure accuracy․ This method works on Aida, evenweave, or any cross stitch fabric, making it a versatile technique for all skill levels․

Tips for Keeping Your Stitches Even and Consistent
Tips for Keeping Your Stitches Even and Consistent
For even and consistent stitches, use a hoop or frame to keep fabric taut․ Always maintain the same number of embroidery floss strands․ Start each stitch in the same direction and pull the thread gently to avoid puckering․ Use scissors to trim excess thread close to the fabric․ Work in a single direction for uniformity․ Choose the right needle size for your fabric․ Keep the working thread length between 18-20 inches to prevent tangling․ End threads on the wrong side, looping them neatly to avoid bulk․ Count stitches regularly to stay accurate․ Iron your project on the wrong side while still in the hoop to set stitches․ Use good lighting to clearly see the fabric grid for precise stitching․
Following a Cross Stitch Pattern
Match the pattern’s grid to your fabric’s grid, using symbols and colors as guides․ Align stitches accurately to ensure the design replicates correctly․ Track progress with a highlighter for clarity and consistency in your work․
How to Read a Cross Stitch Chart
Reading a cross stitch chart involves understanding its grid system, where each square represents a stitch․ Symbols and colors correspond to specific embroidery floss colors․ Numbers or letters may also be used to indicate shades․ Start by identifying the center of the chart, which aligns with the center of your fabric․ Follow the grid row by row, matching each symbol to the appropriate floss color․ Use a highlighter to track your progress and avoid mistakes․ This method ensures accuracy and helps bring your design to life seamlessly․
Matching the Pattern to Your Fabric
Matching a cross stitch pattern to your fabric involves understanding the grid system and thread counts․ Each fabric type, such as Aida, Evenweave, or linen, has a specific thread count that determines how the stitches will appear․ Ensure the pattern’s grid aligns with the fabric’s weave to maintain consistency․ Count the threads to confirm the fabric’s size and adjust the pattern accordingly․ Choose fabrics with clear, visible threads for easier stitching․ If necessary, use a magnifying glass or good lighting to accurately count and align the threads․ Proper matching ensures your design fits and looks as intended, avoiding overcrowding or uneven spacing․

Using a Hoop or Frame
A hoop or frame keeps fabric taut, ensuring even stitches and preventing distortion․ Choose sizes and materials that suit your project for optimal stitching comfort and control․
Choosing the Right Hoop or Frame for Your Project
Selecting the right hoop or frame is crucial for cross stitch success․ Hoops come in various sizes and materials, such as plastic, wood, or metal, while frames offer more stability․ Choose a size that fits your project comfortably, ensuring easy access to the stitching area․ Smaller hoops are ideal for detailed work, while larger ones suit bigger designs․ Consider the fabric type—sturdier frames work best with thick or heavy-duty fabrics․ Adjustable frames are versatile, allowing you to customize tension for optimal stitching comfort․ The right tool enhances control and precision, making your stitching experience more enjoyable and your results more professional․
How to Secure Your Fabric in a Hoop or Frame
To secure your fabric in a hoop or frame, start by placing the fabric evenly over the inner ring or frame base․ Tighten the outer ring gradually, ensuring the fabric remains taut but not overly strained․ For frames, attach the fabric using clips or side rails, adjusting evenly to maintain uniform tension․ Check the fabric’s tightness by gently tugging—it should feel firm but still allow for smooth stitching․ Properly securing the fabric prevents distortion and ensures even stitches, making your cross stitch project easier to manage and more precise․ Adjust as needed during your work to maintain consistency․

Advanced Cross Stitch Techniques
Mastering advanced techniques elevates your cross stitch projects․ Explore fractional stitches for intricate details and learn the English vs․ Danish methods for stitching efficiency and style․

Learning Fractional Stitches

Fractional stitches add intricate details to your designs․ They involve creating partial X-shapes, such as quarter, half, or three-quarter stitches․ These stitches are essential for complex patterns and realistic images․
To master fractional stitches, start with a quarter stitch, where the needle goes diagonally across a corner of the fabric․ Practice half stitches by sewing a straight line across the center of two fabric threads․ Three-quarter stitches combine both techniques, creating a full X-shape on one side․
These stitches require precision and patience․ Use a hoop or frame to keep fabric taut and ensure even tension․ Start with small projects to build confidence before tackling intricate designs․
Understanding the English vs․ Danish Method
The English and Danish methods are two approaches to cross stitching․ The English method involves sewing each X individually, which is great for beginners and detailed work․
In contrast, the Danish method stitches a row of diagonal lines first, then completes the crosses on the return journey․ This technique is efficient for covering large areas quickly․
Both methods produce the same visual result but differ in execution․ The English method offers precision, while the Danish method saves time․ Choose based on your project size and personal preference for a smooth stitching experience․