Speedo’s Women’s Swimwear Size Guide helps you find the perfect fit. With various styles and sizes, it ensures comfort and performance. Use it to make an accurate, informed choice.
Understanding the Importance of Proper Fit
A proper fit is essential for both performance and comfort in swimwear. It ensures freedom of movement, reduces chafing, and prevents wardrobe malfunctions. Speedo’s size guide helps you avoid common sizing mistakes, such as not taking accurate measurements or ignoring specific fit types. A well-fitting swimsuit enhances confidence, whether you’re swimming laps or lounging by the pool. Proper fit also extends the lifespan of your swimwear by preventing stretching or damage. Speedo’s detailed measurements and fit options cater to diverse body types, ensuring every woman can enjoy a flattering and functional swimsuit.
Overview of Speedo’s Sizing Options
Speedo offers a comprehensive range of sizing options to cater to diverse needs. Their Global Fit size chart ranges from XXS to XXL, ensuring a universal fit for women worldwide. Additionally, the AsiaFit collection provides sizes tailored to Asian body types, offering a more localized fit. Speedo also offers Performance Fit for competitive swimmers, designed for a tighter, streamlined feel, and Comfort Fit for recreational use, prioritizing ease and relaxation. With these options, Speedo ensures every woman can find a swimsuit that meets her specific requirements, whether for competition or casual use. This variety makes Speedo a trusted choice globally.
Key Measurements for Accurate Sizing
To ensure the best fit, Speedo recommends measuring your bust, waist, and hips. These measurements are crucial for accurate sizing and a comfortable swimming experience.
How to Measure Your Bust, Waist, and Hips
To measure your bust, wrap a flexible tape measure around the fullest part of your chest, keeping the tape level and parallel to the floor. For your natural waistline, measure the narrowest point, usually just above the belly button. Your hips should be measured around the widest part of your hips and buttocks, about 7-9 inches below your waistline. Ensure the tape is snug but not tight for accurate readings. These measurements will help you align with Speedo’s size chart for the perfect fit. Proper measurement ensures comfort and performance in the water.

Using Speedo’s Size Chart for Women
Speedo’s size chart is designed to help women find their perfect fit effortlessly. Start by aligning your bust, waist, and hip measurements with the chart. The chart is organized by global fit sizes (XXS-XXL) and numerical sizes (30-46), catering to diverse body types. For accurate results, ensure your measurements match the corresponding size. If you’re between sizes, consider your body type and personal preference. The chart also provides guidance for AsiaFit sizing, which may differ slightly. By following the chart carefully, you can select a swimsuit that offers both comfort and performance in the water. Proper fit ensures optimal comfort and confidence.
Speedo Women’s Swimwear Size Chart Breakdown
Speedo’s size chart offers a comprehensive breakdown of women’s swimwear sizes, including Global Fit (XXS-XXL) and numerical sizes (30-46). It ensures a tailored fit for every body type.
Global Fit Size Guide (XXS-XXL)
Speedo’s Global Fit Size Guide offers a range of sizes from XXS to XXL, ensuring a perfect fit for diverse body types. This sizing system is designed to provide comfort and support, catering to women of all shapes and sizes. By using chest measurements, the guide helps determine the ideal fit, whether for performance or leisure. The Global Fit sizes are tailored to offer a consistent and reliable fit across Speedo’s entire women’s swimwear collection, making it easier to choose the right suit.
AsiaFit Swimwear Sizing Differences
Speedo’s AsiaFit sizing is specifically designed to cater to Asian body types, offering a more tailored fit compared to the Global Fit. This sizing option addresses regional preferences, with adjustments in measurements such as bust, waist, and hip proportions. AsiaFit suits are often slightly more petite in cut, providing a more flattering silhouette for women in Asia. The sizing remains consistent with Speedo’s quality and performance standards but is adapted to better suit local body measurements and style preferences. This ensures a comfortable and confident fit for women who prefer a more regional-specific design.
Understanding Different Fits
Speedo offers various fits to suit different needs, ensuring both performance and comfort. Each fit is designed to enhance your swimming experience with precision and style perfectly.
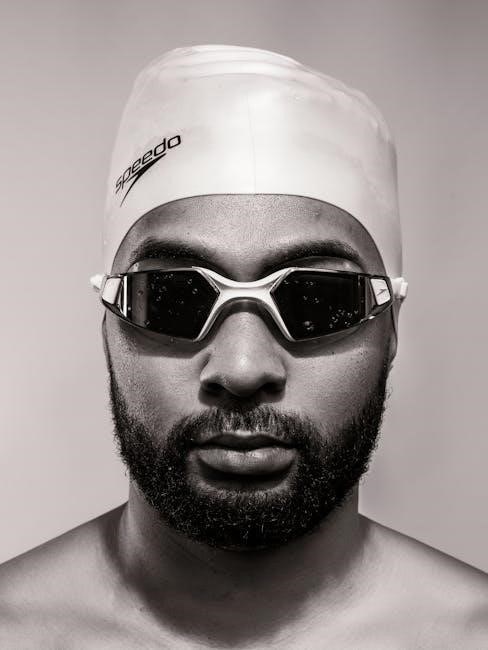
Performance Fit for Competitive Swimmers
The Performance Fit is designed specifically for competitive swimmers, offering a snug, streamlined silhouette to reduce drag and enhance speed. This fit is tailored to provide maximum support and flexibility, essential for high-intensity training and races. Speedo’s advanced fabric technology ensures durability and comfort, even during long sessions in the water. By following the size guide, athletes can achieve a precise fit that boosts performance without compromising on mobility. This fit is ideal for those who prioritize speed and efficiency in their swimming.
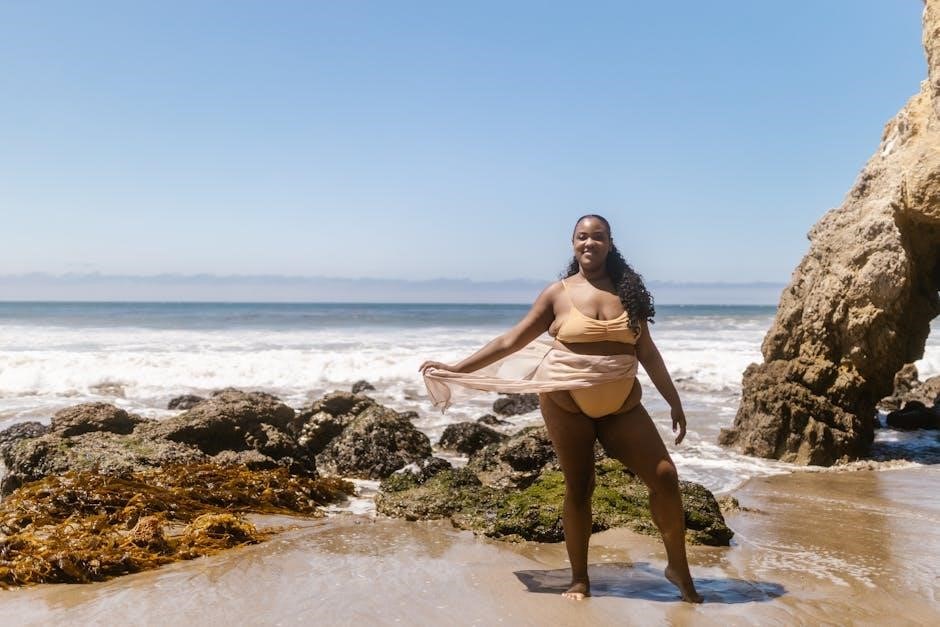
Comfort Fit for Recreational Use
The Comfort Fit is perfect for recreational swimming or lounging by the pool. Designed for ease of movement, it offers a relaxed silhouette without compromising on support. This fit is ideal for those who prioritize comfort and flexibility during casual swimming sessions. Speedo’s Comfort Fit ensures a soft, breathable feel against the skin, making it suitable for all-day wear; Whether you’re swimming laps or enjoying the sun, this fit provides a balance of relaxation and functionality. It’s tailored to meet the needs of swimmers who value ease and comfort above high-performance demands.
How to Choose the Right Size
To choose the right size, consider your body type, personal preference, and how you want the swimsuit to feel. Purchase one size smaller for a tighter fit.
Considering Body Type and Personal Preference
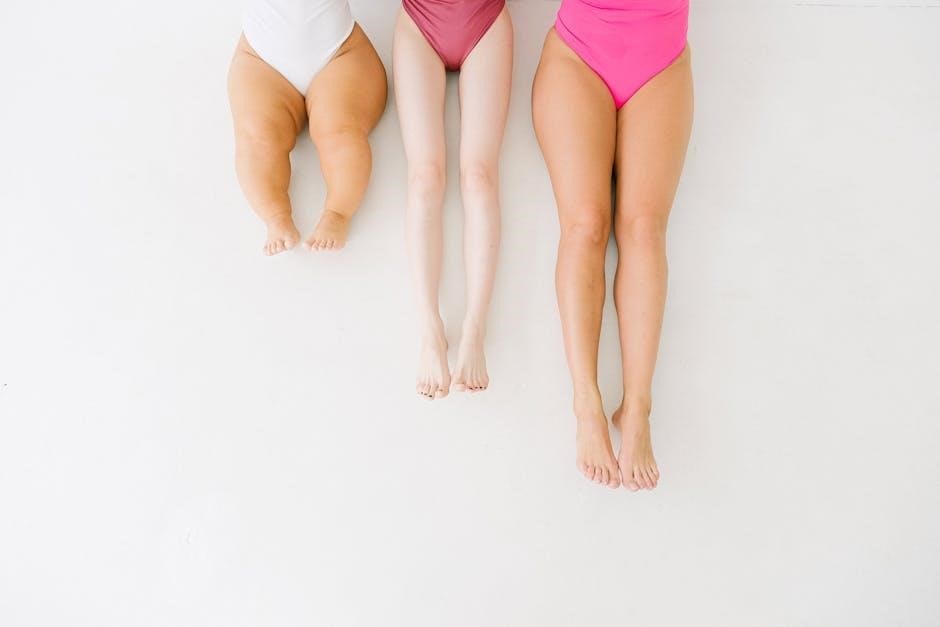
Understanding your body type is crucial for selecting the right swimwear. Petite, tall, or curvy frames may require different styles. Personal preference plays a significant role—some prefer snug fits for performance, while others opt for comfort. Speedo offers various fits, from Performance to Comfort, catering to diverse needs. Consider how you’ll use the swimsuit—competitive swimming, leisure, or fitness. Measure accurately and refer to Speedo’s size chart. Body type and personal preference ensure a flattering and functional choice. Make an informed decision for optimal comfort and confidence.
Purchase One Size Smaller for a Tighter Fit
For a tighter fit, consider purchasing one size smaller than usual. This ensures minimal movement and prevents wardrobe malfunctions during activities. Speedo’s sizing tends to run slightly roomier, so downsizing can provide a more secure fit. However, avoid overly tight sizes that restrict comfort. Always refer to the size chart for accuracy. This tip is especially useful for competitive swimmers needing maximum support. Balance tightness with comfort to maintain performance and confidence in the water. Adjust your choice based on personal preference and activity level for the best results.

Caring for Your Speedo Swimsuit
To maintain your Speedo swimsuit’s quality, rinse it in cold water after use and avoid wringing. Store it away from direct sunlight to prevent fading.
Wash Instructions to Maintain Fit and Quality
To keep your Speedo swimsuit in great condition, rinse it in cold water after each use to remove chlorine or saltwater residue. Avoid wringing or twisting, as this can stretch the fabric. Gently reshape the suit while it’s damp. Wash it by hand or in a mesh laundry bag on a delicate cycle using mild detergent. Do not bleach or iron, as this can damage the material. Allow the suit to air-dry away from direct sunlight to prevent fading and maintain its elasticity. Proper care extends the lifespan and performance of your Speedo swimsuit.
Common Mistakes to Avoid
Common mistakes include not taking proper measurements, ignoring specific fit types, and assuming sizes are consistent across styles. Avoid these to ensure the best fit.
Not Taking Proper Measurements
Not taking proper measurements is a common mistake that can lead to an ill-fitting swimsuit. Accurate measurements ensure the best fit, so use a flexible tape measure and measure without clothing. For women, focus on bust, waist, and hips, while men should measure their chest. Measure yourself in front of a mirror to ensure accuracy. Speedo’s size chart is based on these measurements, so skipping this step can result in discomfort or a suit that doesn’t perform as intended. Proper measurements are key to enjoying your swimwear’s comfort and functionality.
Ignoring the Specific Fit Type
Ignoring the specific fit type is a common mistake that can lead to discomfort and poor performance. Speedo offers different fits, such as Performance Fit for competitive swimmers and Comfort Fit for recreational use. Each fit is designed for specific needs, so choosing the wrong one can result in a suit that is too tight or too loose. This can restrict movement, cause chafing, or provide inadequate support. Always consider your activity type and personal comfort preferences when selecting a fit. Speedo’s size chart is designed to help you make the right choice for your needs. Proper fit ensures optimal performance and comfort in the water.
Proper fit is key to performance and comfort. Ensure accurate measurements and consider body type. Choose the right fit for your needs. Consult Speedo’s size chart.
Final Tips for the Best Fit
For optimal comfort and performance, ensure accurate measurements using Speedo’s size chart. Consider your body type and activity level when selecting. Choose between GlobalFit or AsiaFit based on regional sizing. If unsure, purchase one size smaller for a tighter fit. Always follow wash instructions to maintain fabric quality. Avoid common mistakes like ignoring specific fit types or not measuring properly. By following these tips, you’ll enjoy a perfect fit and enhanced performance in your Speedo swimwear.